Creating and Configuring the JIRA Project
This section describes how to create and configure a project in JIRA to handle request issues and execute deployments in CDA.
To Create and Configure a Project in JIRA
-
Navigate to Projects > Create Project. The Project management dialog is displayed.
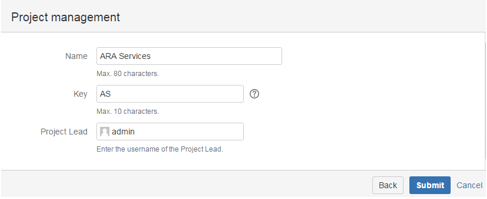
- Name the project ARA Services.
- Enter a project key to be used as the prefix of this project's issue keys (for example: AS).
- Click Submit. The project is created.
- Let's now configure the project to handle deployment request issues. To do so, go to Administration > Project and select the ARA Services project.
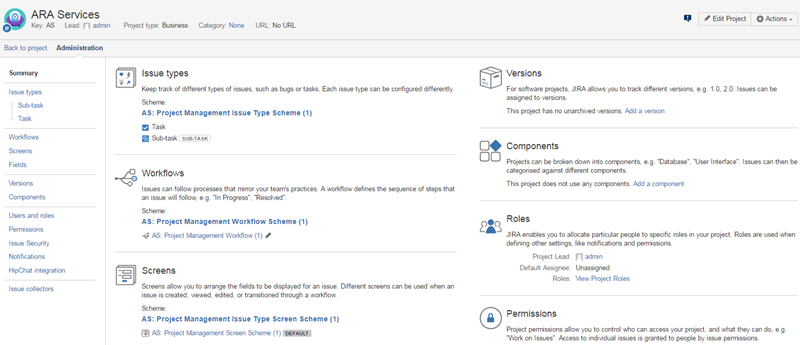
- In the Issue Types section, click the name of the default scheme.
- Click the Actions drop-down menu and select Use a different scheme.
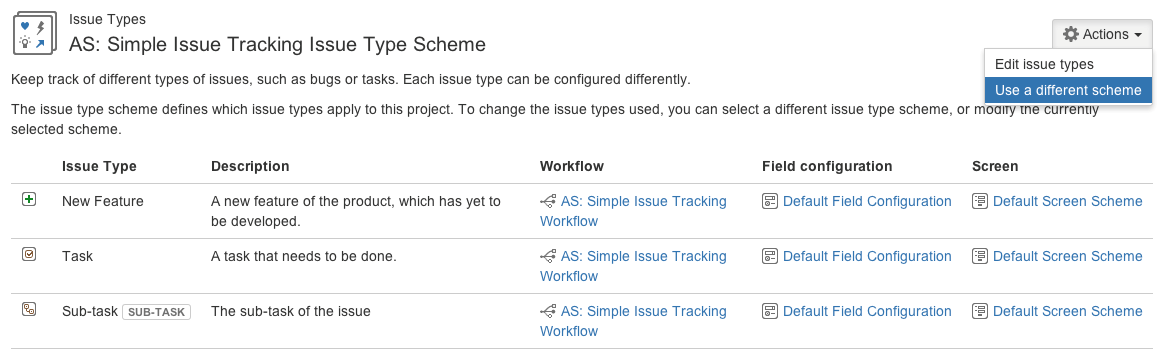
- Select the Choose an existing issue type scheme radio button.
- Select the ARA Issue Type Scheme from the drop-down list.
- Click OK.

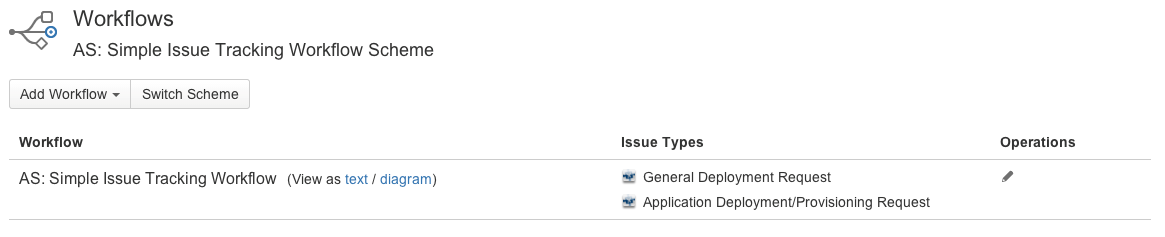
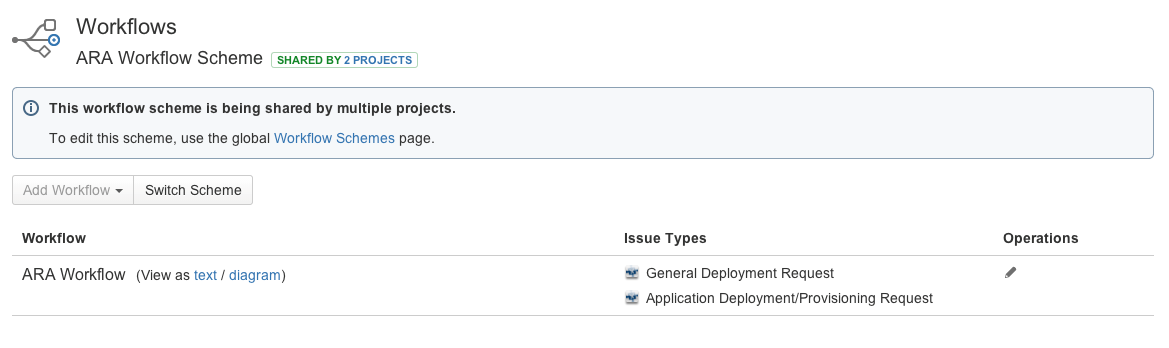
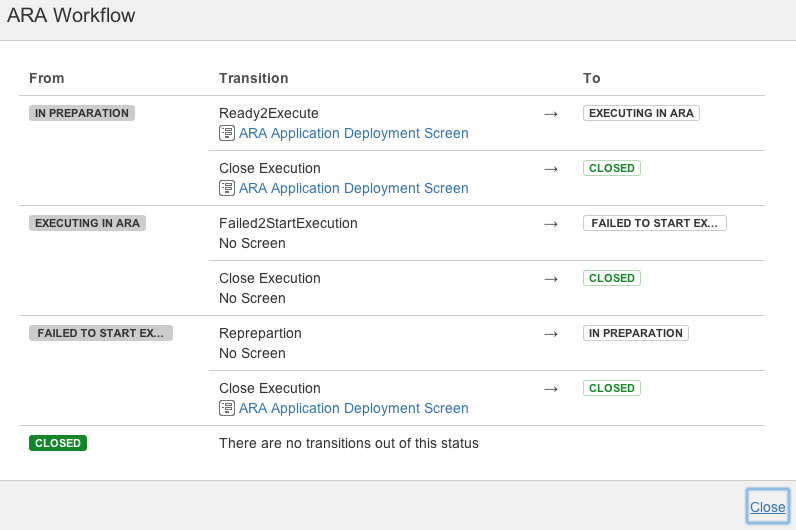
- In the Workflows section, click the name of the default scheme.
- Click Switch Scheme to display the Associate Workflow Scheme to Project page.
-
Select the ARA Workflow Scheme from the Scheme drop-down list.
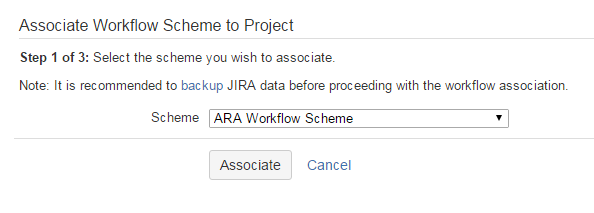
-
Click Associate to begin the process.
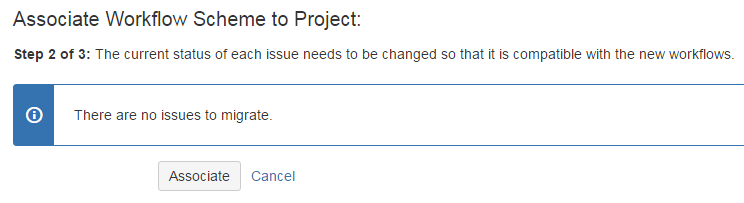
- Click Associate to confirm that there are no issues to migrate.
- Click Acknowledge to finish the process.
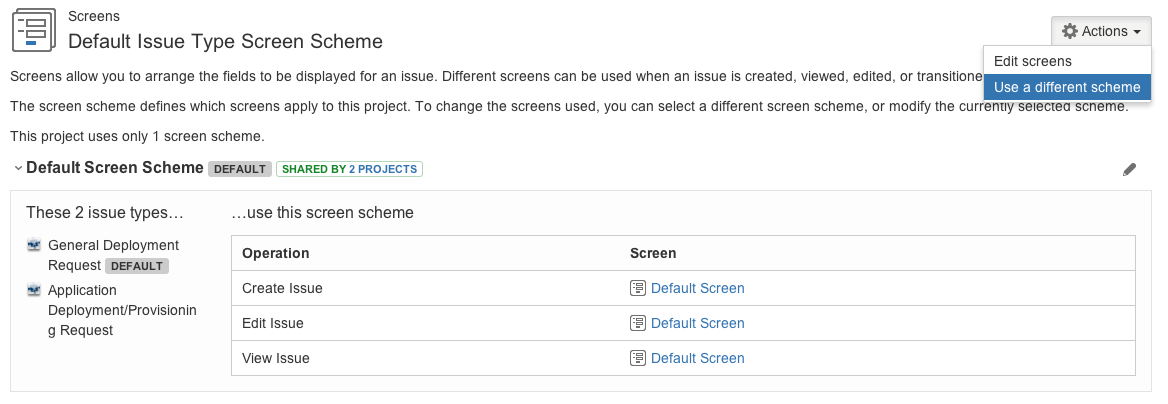
- Let's now define the associated type screen scheme. In the Screens section click the name of the default scheme.
- Click the Actions drop-down menu and select Use a different scheme.
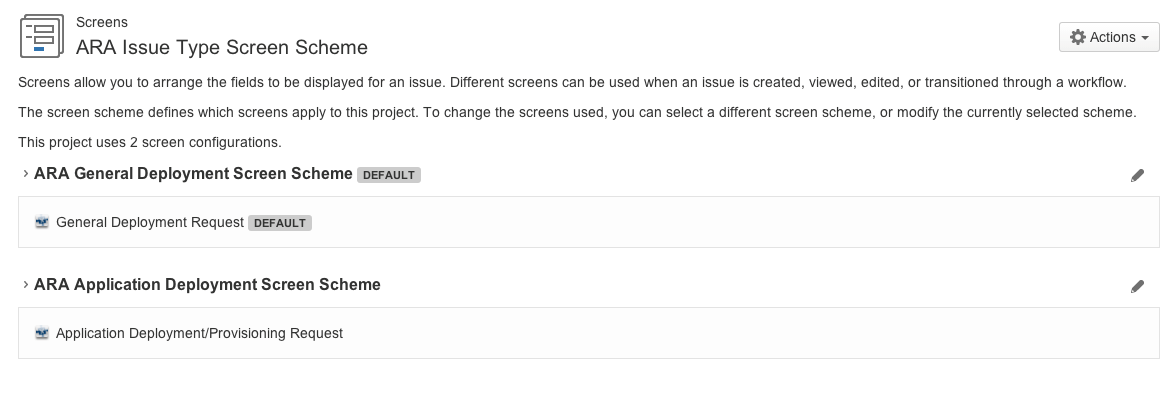
- Select the ARA Issue Type Screen Scheme from the drop-down list.
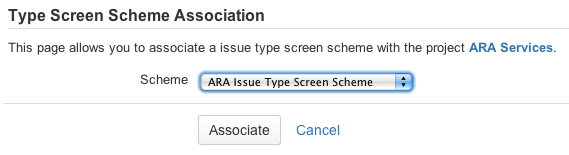
- Click Associate.
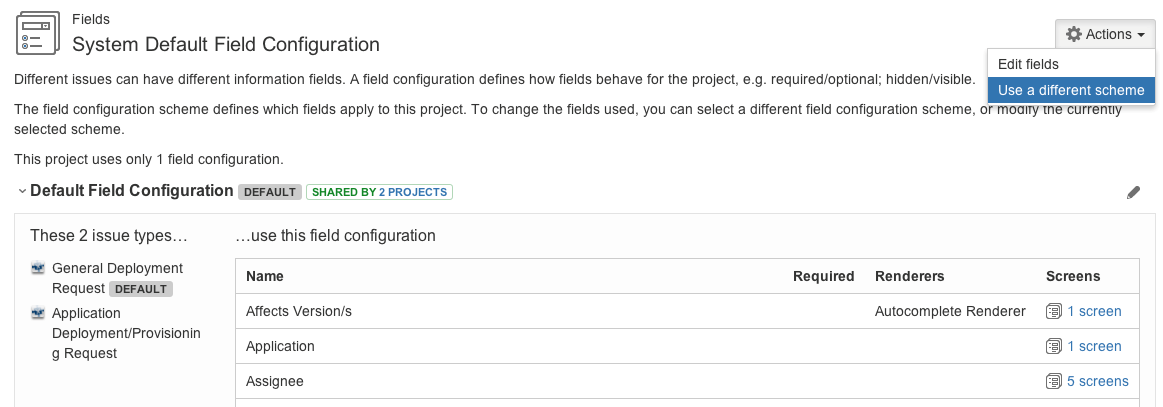
- In the Fields section, click the name of the default scheme.
- Click the Actions drop-down menu and select Use a different scheme.
-
Select the ARA Field Config Scheme from the drop-down list.
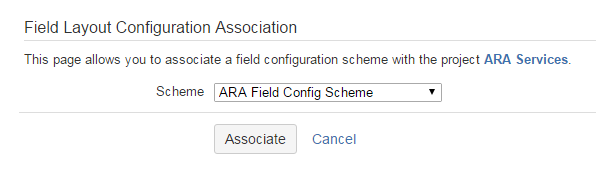
-
Click Associate.
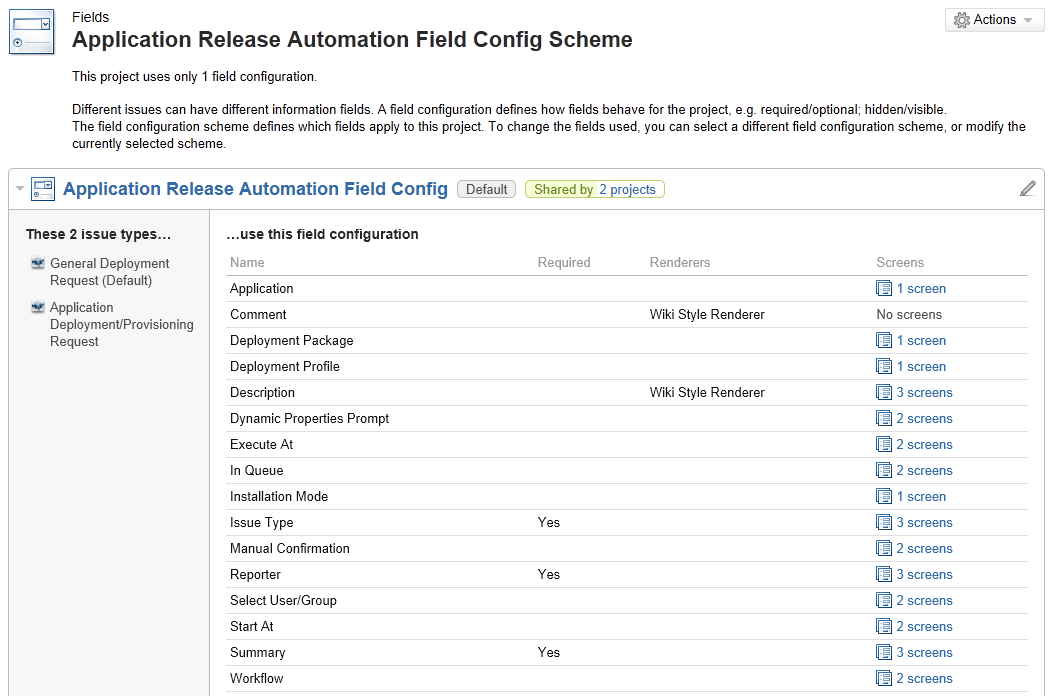
Note: Optionally, you can customize issue types, workflows, screens, and fields manually by creating your own schemes (see JIRA documentation).